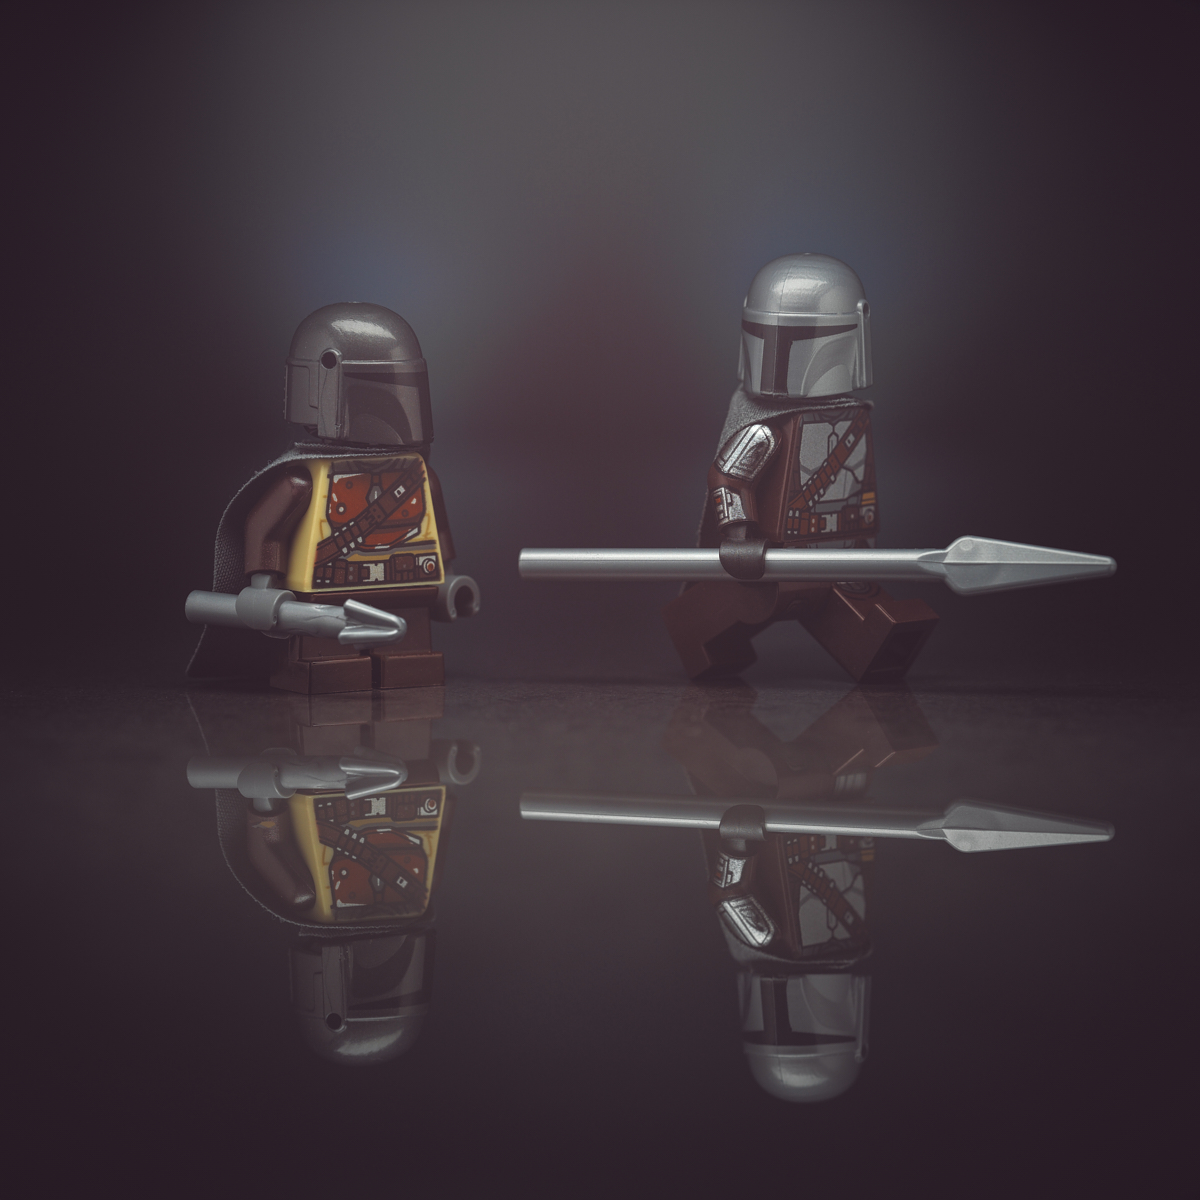
Just another #mandomonday, featuring Mando from both the LEGO Star Wars set 75299 Trouble on Tatooine and 75292 The Razor Crest (with the latter borrowing short legs from the LOTR Pippin minifigure).
Behind the Scenes
I enjoy sharing a look at the process behind my work and my creative journey.
Photography has long been my passion. With the level of technology available to us today, it’s easier than ever to take a technically competent photograph. And yet, some images still clearly ‘work’ more than others.
With LEGO photography, where we can often control almost every aspect of the scene, I believe that investing time and mental energy in the creative process can help make that difference. So I consider four fundamental things in making an image:
- The Idea
- Light
- Subject Isolation
- Composition
The Idea
Building on last week’s idea of exploring Mandalorians’ social life, today I wanted to include a foundling in a scene with a warrior. So playing on the double meaning of the phrase “This is the way”, I staged the latter prompting the child to follow him:
Light
My preferred style is low key photography with soft lighting: predominantly dark and dramatic scenes, with light emphasizing only specific areas of the frame and with smooth transitions between light and shadow.

This is a fairly typical lighting setup for me:
- Main light: Litrapro with softbox, positioned with a Platypod gooseneck arm and Ultra tripod base
- Background lights: Litrapros with grid, lying flat on a tabletop
- Reflectors: DIY with folded recipe cards, to provide fill and to help soften the light
Subject Isolation
The subject is ultimately what the photo is about and there should be no doubt in the viewer’s mind as to what it is.
I considered the pair to be the subject, and gave them equal emphasis in terms of framing, lighting, and depth of field.
Composition
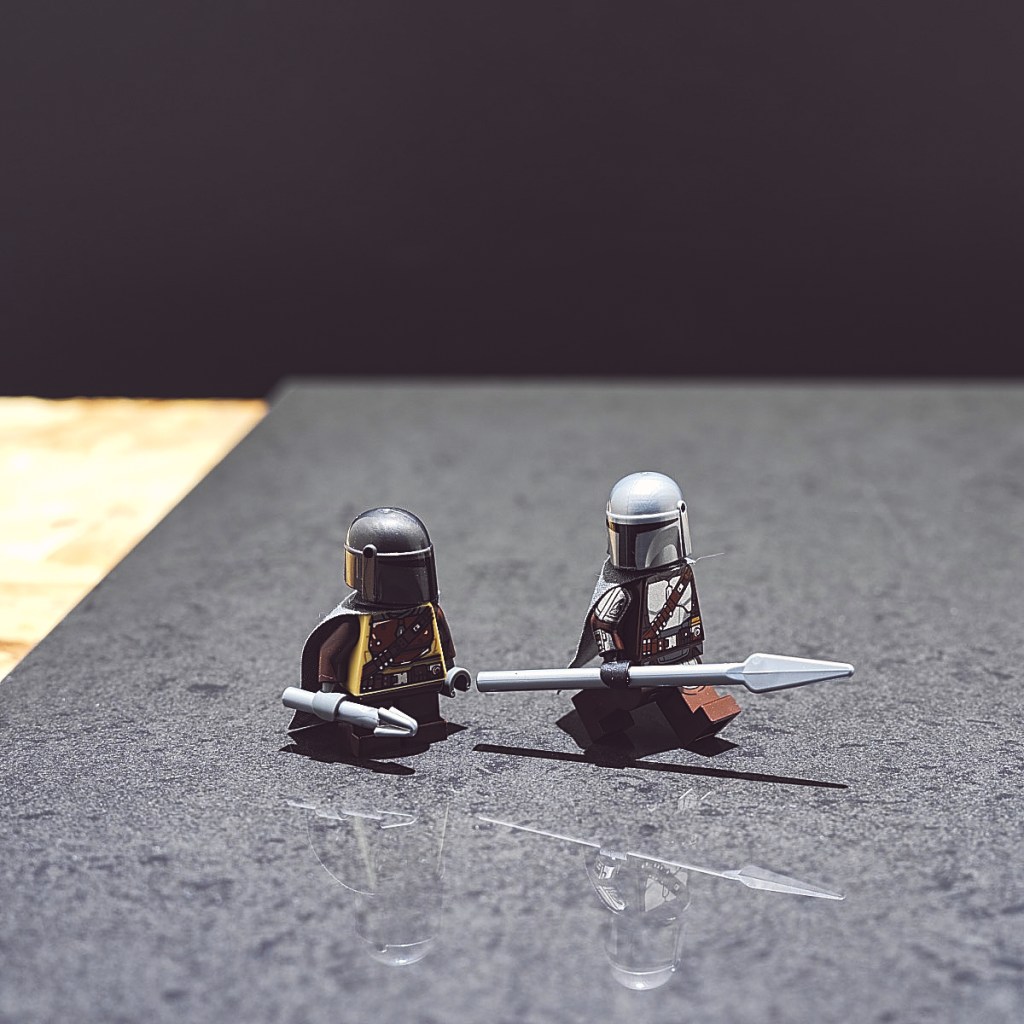
I try hard to get as close to the final image as possible in camera. To help with this I compose in live view with my mirrorless camera’s rear display, using a crop mask and grid overlay. It looked almost exactly like this:
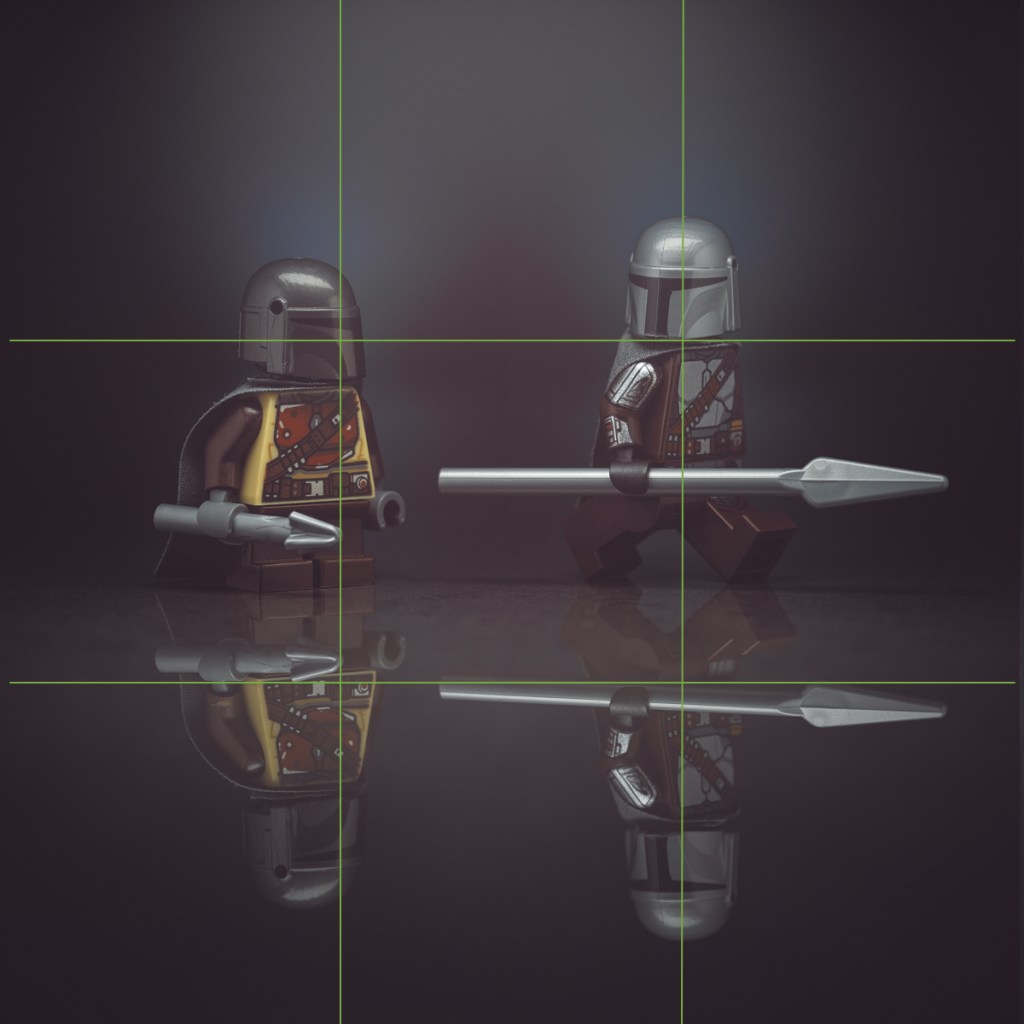
I composed using the rule of thirds, using the child’s visor as an anchor point and Mando’s neck as another. I’ve filled the frame beneath the pair with their reflection, both for balance and for aesthetic purposes, and left the remainder as negative empty space.
Tech Stuff
Instead of sharing the technical settings for this one photo, I’d rather share my standard operating procedure for, which can be applied to all of my LEGO photography with but few exceptions:
- Tripod mounted mirrorless camera set to ISO 100 and triggered with 2 second delayed shutter
- 120mm macro lens shot at f/8* and manually focused using magnified live view
- Note: as mentioned above, today’s shot was made at f/4 to minimize depth of field in order to improve subject separation from the background
- Aperture priority centre-weighted metering with exposure compensation to taste
- Post processing the RAW files with custom white balance, luma curve, saturation, contrast, sharpness, vignette, levels, and dust removal
Up Close and Personal
Macro photography allows us to see small objects in spectacular detail. For me, LEGO minifigures are perfect subject material.
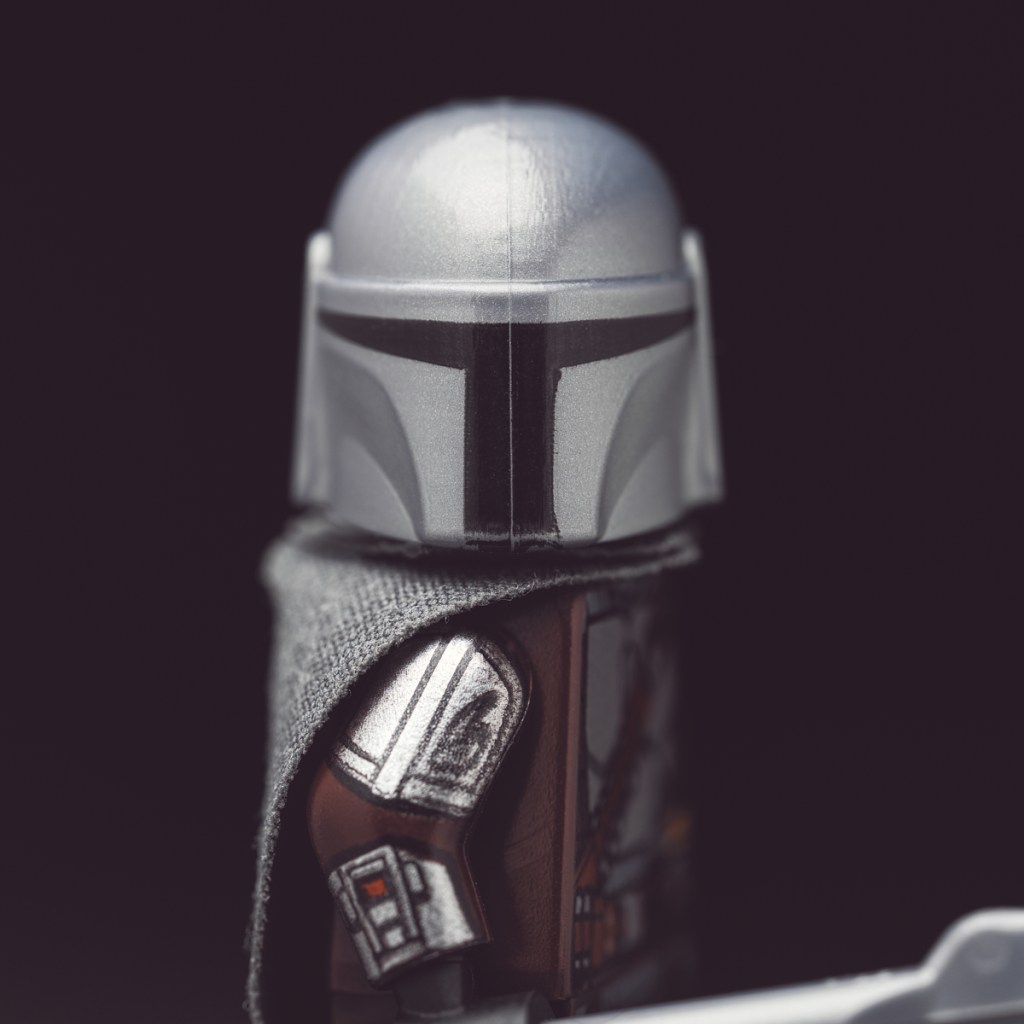
This is as close as I can get with my system – the only crop is to make the image square. Now let’s get in a little tighter with another crop:
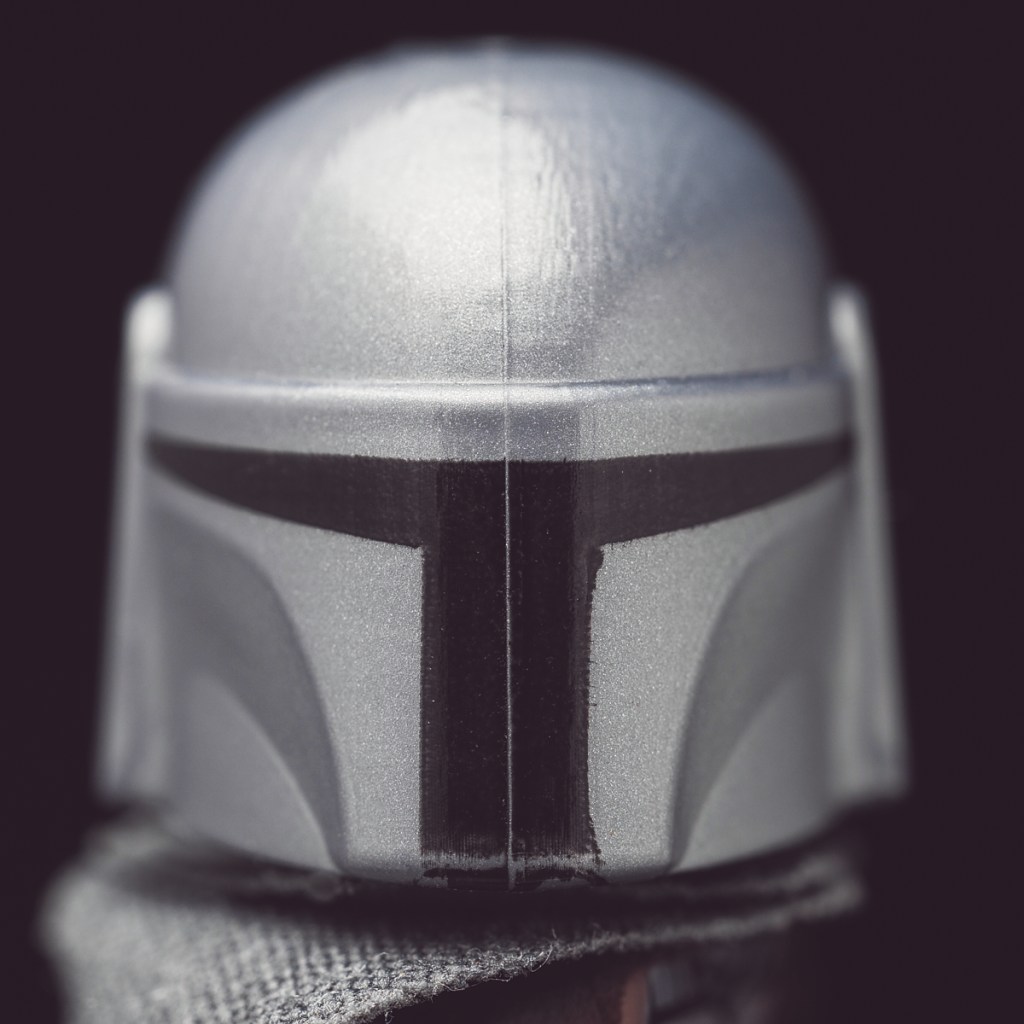
This helmet is one of my favourites – love how it cataches the light!
Wrap Up
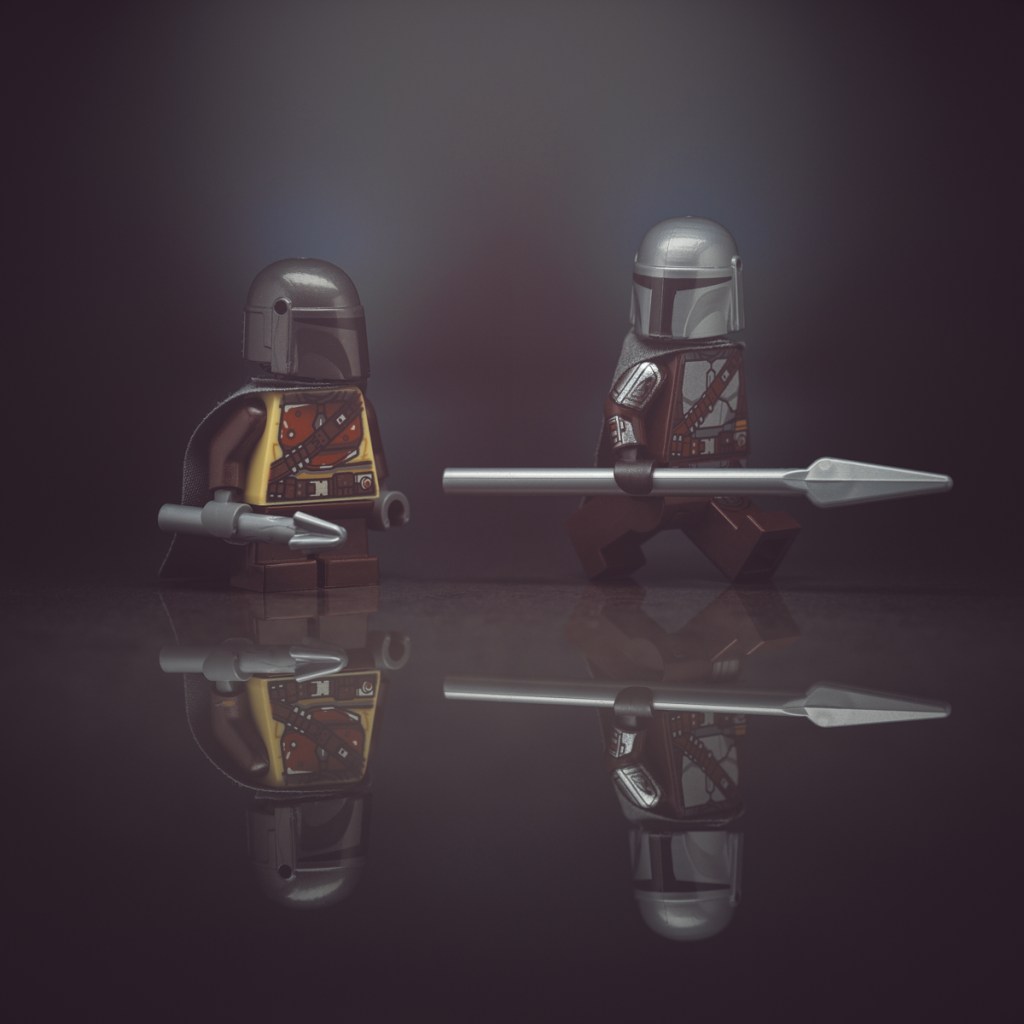
Time once again to close out with the before and after shots, showing how I realized my idea through deliberate lighting, subject isolation, and composition choices.
Best,
Scott.
