
#spacecowboysaturday
…
Today’s character is Sheriff Not-A-Robot, a minor antagonist from The LEGO Movie realm The Old West. Along with Bad Cop and Robot SWAT bots, he and other old west characters on horseback chase Emmet, Wyldstyle, and Vitruvius, but plunge over a cliff after Emmet makes his first master build and the trio make an abrupt evasive turn.
The minifigure was available in The LEGO Movie set 70800 Getaway Glider, which also included Deputron and Emmet with Piece of Resistance.
Behind the Scenes
I enjoy sharing a look at the process behind my work and my creative journey.
Photography has long been my passion. With the level of technology available to us today, it’s easier than ever to take a technically competent photograph. And yet, some images still clearly ‘work’ more than others.
With LEGO photography, where we can often control almost every aspect of the scene, I believe that investing time and mental energy in the creative process can help make that difference. So I consider four fundamental things in making an image:
- The Idea
- Light
- Subject Isolation
- Composition
The Idea
The idea wasn’t terribly inspired. Having just acquired the minifigure through Bricklink, I wanted to feature it breaking the fourth wall with an intimidating stare at the viewer.

Once again, I used a piece of charred cedar plank as floordroop – a surprisingly useful mini home studio accessory.
Light
My preferred style is low key photography: predominantly dark and dramatic scenes, with light emphasizing only specific areas of the frame.

This was my lighting setup:
- Main light: Litrapro with softbox, positioned with a Platypod gooseneck arm and Ultra tripod base
- Background light: Litrapro with grid, lying flat on the table top
- Reflectors: DIY with a folded recipe cards, aimed to fill the shadows beneath the hat’s brim
In post, I added a two stop vignette to further emphasize the subject and also used an adjustment layer to mask his face and dodge it another quarter stop.
Subject Isolation
The subject is ultimately what the photo is about and there should be no doubt in the viewer’s mind as to what it is.
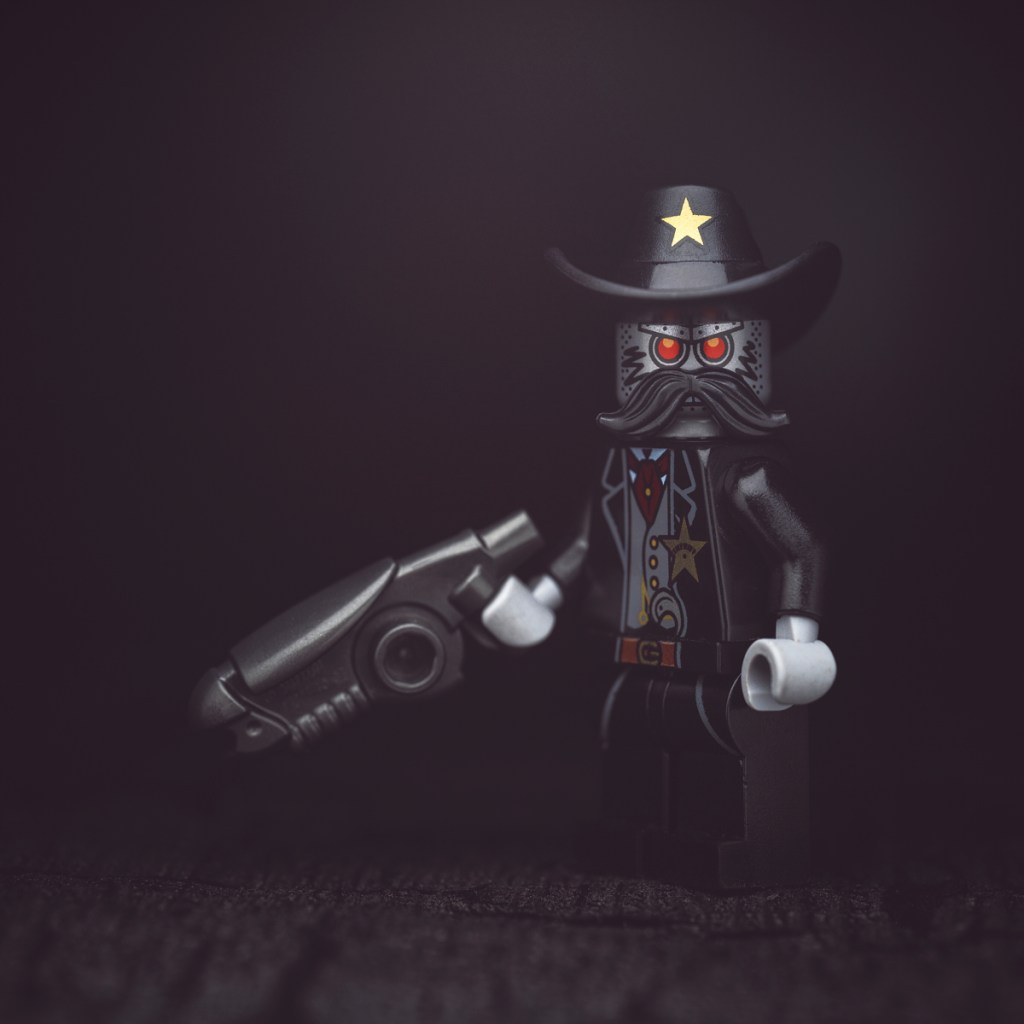
Given my minimalist approach, there is no question as to who the subject is here.
Composition
I try hard to get as close to the final image as possible in camera. To help with this I compose in live view with my mirrorless camera’s rear display, using a crop mask and grid overlay. It looked almost exactly like this:
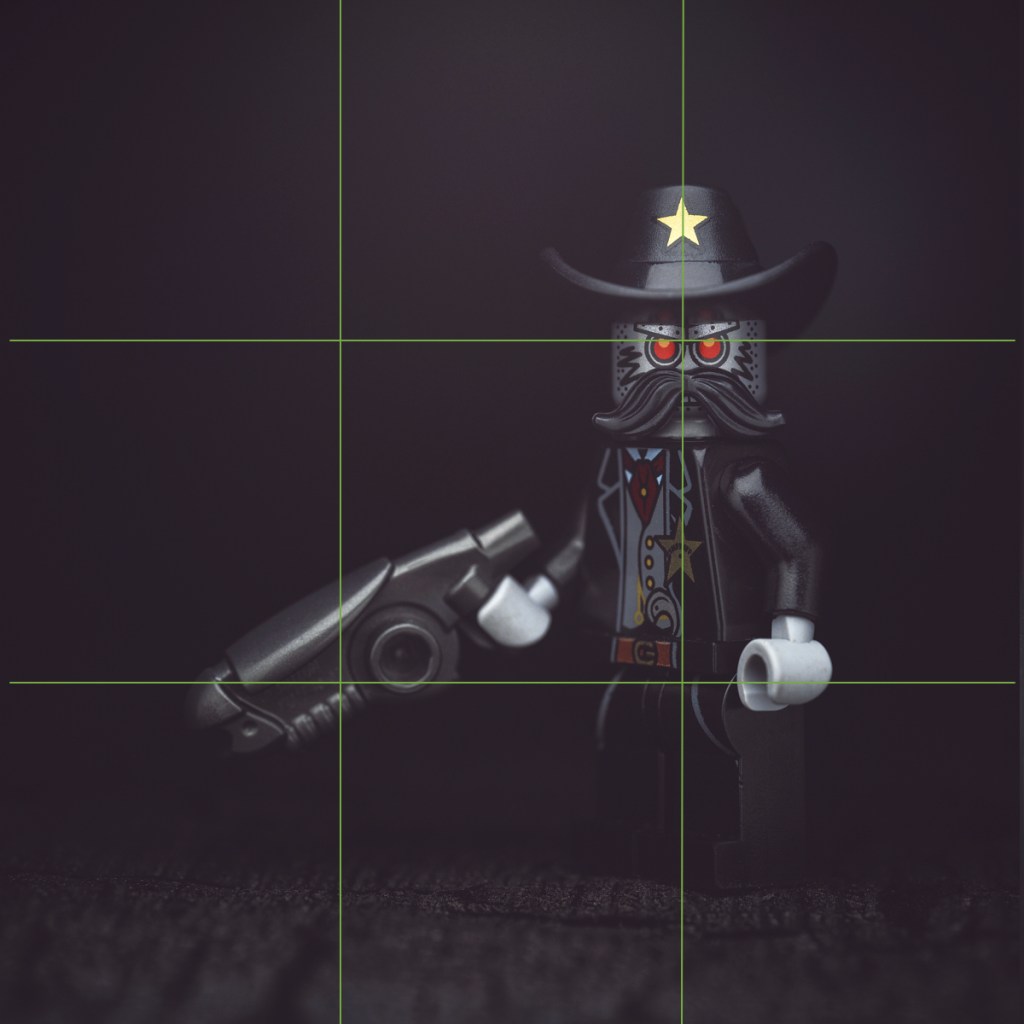
I composed using the rule of thirds, using his central brow as the anchor point and with the star’s apex on a vertical third line. As the blaster is the key supporting accessory, I placed it in profile and as a secondary anchor point that helps balance the image. I left the remainder as empty negative space.
Tech Stuff
Instead of sharing the exact technical settings for this one photo, I’d rather share my standard operating procedure for, which can be applied to all of my LEGO photography with but few exceptions:
- Tripod mounted mirrorless camera set to ISO 100 and triggered with 2 second delayed shutter
- 120mm macro lens shot at f/8 and manually focused using magnified live view
- Aperture priority centre-weighted metering with exposure compensation to taste
- Post processing the RAW files with custom white balance, luma curve, saturation, contrast, sharpness, vignette, levels, and dust removal
Up Close and Personal
Macro photography allows us to see small objects in spectacular detail. For me, LEGO minifigures are perfect subject material.
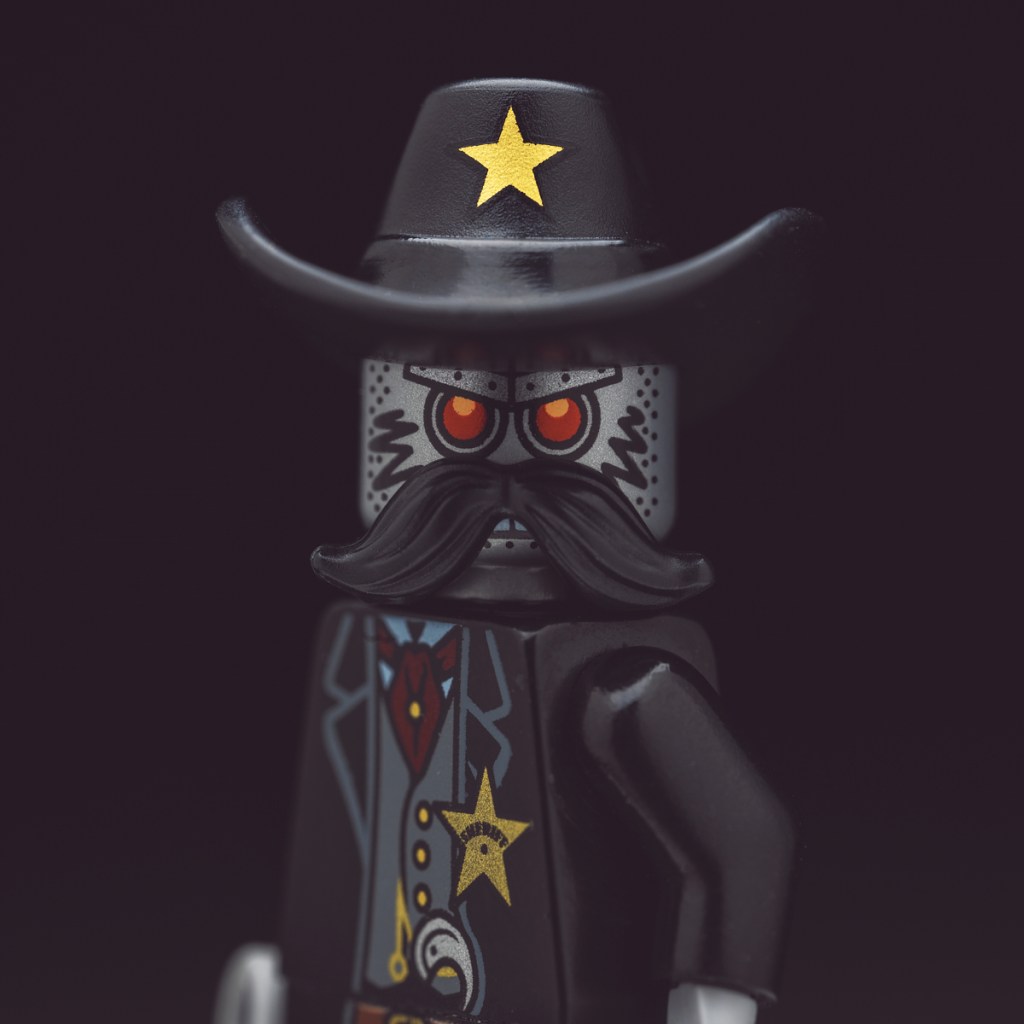
Once again, this is as close as I can get with my system – the only crop is to make the image square. Now let’s get in a little tighter with a crop on the Sheriff:

Beautiful texture showing on the upper hat imo.
Wrap Up
Time once again to close out with the before and after shots, showing how I realized my idea through deliberate lighting, subject isolation, and composition choices.
Best,
Scott.
